Construction

The kit
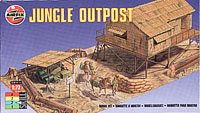
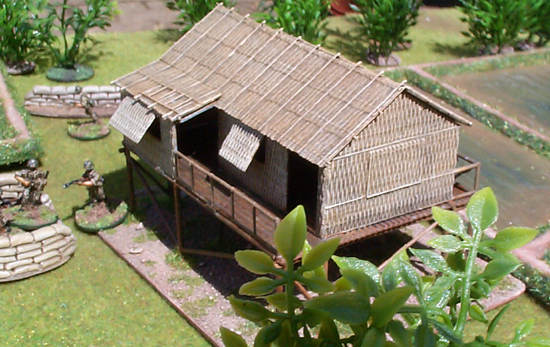
The hut is made from hard plastic, and comes in very few bits, so it
is easy to assemble. It is meant for WWII Japanese, so you get a couple
of these with it, along with two pack mules. More usefully, the kit
also contains bicycles, which make ideal details for a Vietnamese village,
and a load of crates, pickaxes, shovels etc, which can be used on scenery
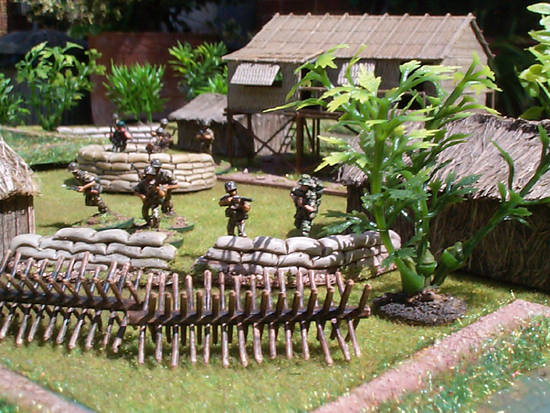
or vehicles. There is also a lean-to shed, which you can see on the
box lid (but not in my main photos).
Build the hut
Build the model as instructed. (Not surprisingly). The only modification
that I made was to not stick the roof down, and to stiffen the roof
with some scraps of plastic sprue.
Stick the hut to a base
The hut can be freestanding, but the legs are very flimsy, so I
would recommend sticking it to a base. Cut a bit of heavy card, about
an inch (2.5cm) larger than the outer legs. Stick the model to it with
generous blobs of epoxy resin.
Texture the base
Give the card base some texture by spreading a thin layer of PVA
over it (use a small scrap of card) and then sprinkling it liberally
with coarse sand.
Painting the base

Basecoat the sand
Once the PVA is fully dry, basecoat the sand with dark brown.
Let this dry completely, then drybrush with a lighter brown.
Then drybrush with an even lighter brown.
(Optional) Finally lightly drybrush with a cream colour.
Once the base is painted, you can add clumps of vegetation by sticking
flock to PVA. In this example, I used static
grass flock.
Painting the hut

Generally when you basecoat, you start with a really dark colour, and
progressively work your way to the lighter colours. However, if the
thing that you are drybrushing hasn't got very deep texture, like this
hut, then this will result in something which is a bit dark and greyish
looking. In this case, start with a medium base colour, put on a dark
wash, and then drybrush.
Start with a medium yellow ochrey brown base coat.
Wash with medium dark brown (eg Citadel Bestial Brown).
Drybrush with the basecoat
Drybrush with cream colour.


