|
|
©1999-2003. All rights reserved. |
Tarmac
A staple part of any urban table is the surface itself; however
nice your buildings are, they will look a bit silly on a grassy field.
This tarmac is fast, effective and cheap.
Materials
| |||
| WARNING: | When you store the sections separate them with pieces of paper, otherwise they will slowly become stuck together and this will tear off blobs of paint. |
Construction

Cut vinyl to shape
Cut the vinyl from the back with a scalpel and a steel rule. Don't
use a new blade because the particles of grit embedded in the vinyl
will blunt it in an instant. These road pieces are about 6" wide
and 12" long.
That's it! You've finished. Now all you have to do is paint it.
Painting

![]() Basecoat
Basecoat
Paint the vinyl with black masonry paint (available in tester
pots from Do-It-All). This it tougher and cheaper than acrylic. Make
sure you paint the other side, because the unpainted vinyl will tend
to stick to the painted surface and pull small blobs off it. Giving
both faces a coat of paint will help to stop this.
Detail Areas
When the black has dried, add a few rectangular areas of mid grey.
Tarmac is rarely an even colour, particularly in the city where it
is being continually dug up and then patched.
Drybrush
![]() Drybrush
the road very gently with a very pale grey or cream. I used Beige
Sandtex. Using a very high contrast drybrush like this will bring
out the texture and make it look really grainy and dusty.
Drybrush
the road very gently with a very pale grey or cream. I used Beige
Sandtex. Using a very high contrast drybrush like this will bring
out the texture and make it look really grainy and dusty.
Stencilling

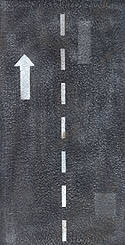
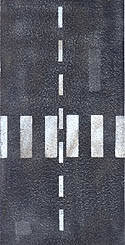
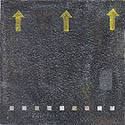
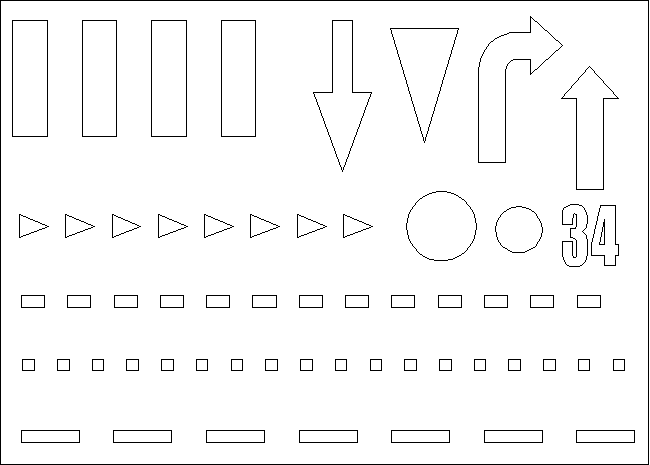
The easiest way to apply patterns is to stencil them on. You can make your own stencil by printing shapes onto ordinary paper and then cutting them out with a scalpel. The brush you use for stencilling should be large with stiff bristles and a flat end. Art and craft shops sell brushes specifically for this purpose.
When stencilling use undiluted acrylic and make gentle stabbing motions directly downwards. Hold the stencil down tightly with the spread fingers of the other hand.
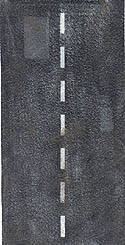
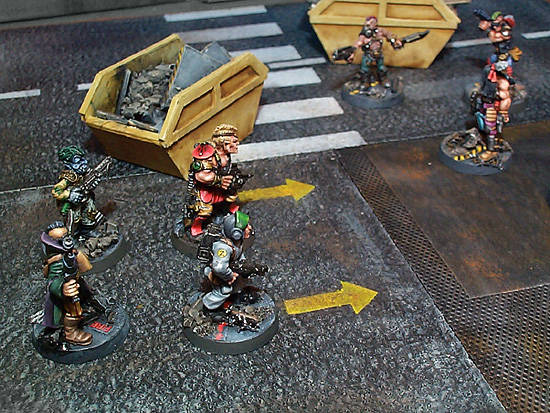
The road markings shown in the examples were made with the stencil below. To use this, right click on it, save it to disk and then print it out at A4 using software such as Irfan, Photoshop or Paintshop Pro. Irfan can be downloaded from www.irfan.com


 This
example is from Polyflor. Being an architect we have samples kicking
around the office, but it's not all that expensive to buy (around £10
per square metre, I think). To stop the vinyl being slippery when wet
it has little bits of grit embedded in it, and so it has a texture exactly
like tarmac. It is also relatively heavy, and doesn't warp when wet
so it will lie nice and flat on the table.
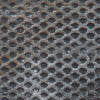 On
the back of it is embossed this rather pleasing grid pattern, which
would make an excellent texture for the inside of buildings or space
hulks, as vinyl is far cheaper than the commonly used