|
|
©1999-2003. All rights reserved. |
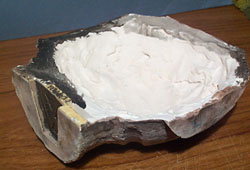
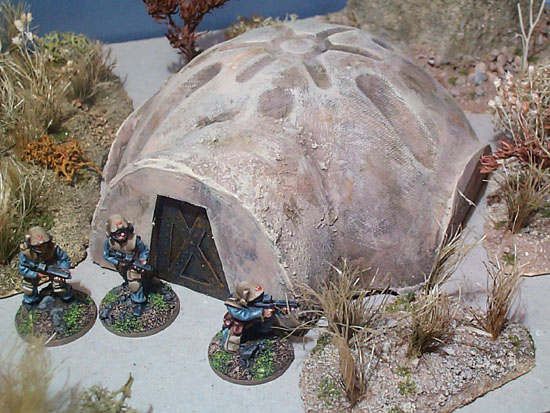
Plaster Dome
Materials
Construction
| |||
| Making the door Cut the doorway from the foam card and then glue the same piece back in but set back by about half the width of the foamcard. To add some detail cut a piece of thin card to the same size and then remove four triangles from it to give the impression of reinforcement bars. You will need to draw these on with a pencil to get the triangles in the right place. |
 |
Adding recessed detailing
Take a scalpel, large needle or any other pointy bit of metal and
scrape in some grooves. A circle template (as used for technical drawing
work) can be used for circular grooves to represent hatches or access
panels. If you are using a scalpel then be careful not to ruin your
template by cutting bits out of it. You can also make straight grooves
using some kind of flexible straight edge such as the edge of a piece
of plastic packaging.
Adding raised detailing
Stick on some little rectangles of card. A thin card should be used
so that it can be bent to the curved surface of the plaster. You could
also add assorted bits box items such as bits of pens and plastic toys
to resemble vents etc. Absorbent material such as card should be stuck
with PVA, metal and plastic with epoxy resin. Super glue is not very
good because the plaster is so absorbent.
Painting

Painting the dome
- The dome was given a coat of masonry paint to seal the porous surface of the plaster.
- This was followed by a coat of brown emulsion
 .
.
- Next a dark brown wash was applied
 .
.
- A fairly wet drybrush with the original colour
 .
.
- A dryer drybrush with the original colour mixed with a pale cream.
- A very dry drybrush of the cream colour
 .
.
- Finally the dome was stained with patchy washes of different browns and dark greenish browns. In some case these were smeared (using a finger) and in some areas a light drybrush of cream was applied over the top.
- Black basecoat
 .
.
- Drybrush with dark silver/gunmetal.
- Patchy drybrush of chestnut brown to simulate rust
 .
.
- Light wash of dark brown
 .
.


