|
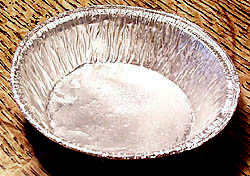
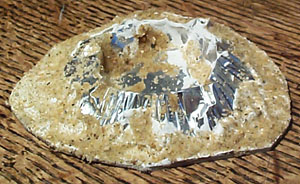
Fold pie dish into crater shape
Put the dish on a flat surface upside-down and push the center down
with your thumbs to give the shape shown below. This example is a larger
one from the one above - about 3 inches in diameter.
Remember to wash the dish out first with detergent, as grease will
stop the paint and filler adhering properly.
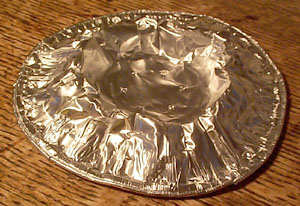
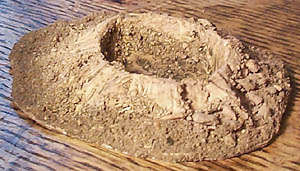
Cut the edges off the dish
The rim forms an obvious and unrealistic circle, so whip this off with
a pair of scissors.
|
|
|
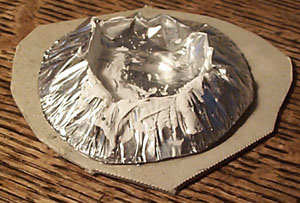
Fill the underside with filler
The dish is now the right shape to be a crater, but is very fragile.
To deal with this turn it over again and fill the underside with interior
filler.
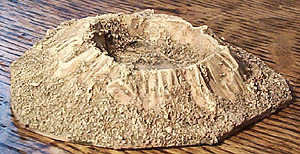
Glue to a mounting board base
Glue the crater to a irregularly cut piece of mounting board, slightly
larger than the crater.
|
|
|
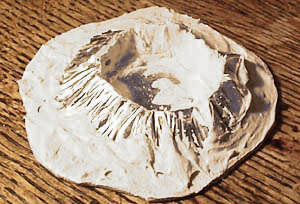
Use filler to smooth edges
There will be a sharp corner between the dish and the base, so round
this off with some more filler. Larger dishes often have some kind of
pattern stamped in the bottom, but you can cover this with a thin layer
of filler at this stage.
|
|
|
Apply texture to base
Paint on PVA around the edges and the odd patch in the middle. Sprinkle
the PVA with sand.
If you want to add any bits of debris (balsa wood, wire, guns etc.),
then do it at this stage, so it looks realistically embedded rather
than stuck on.
|
|
|
Paint the crater mid-brown
The emulsion I used for this has been decanted into a plastic film pot as the lids from paint tins are difficult to take off and
even harder to reseal.
|

|
|
Wash the crater with dark brown
The dark paint will tend to collect in the sandy bits, which will highlight
the crater itself.
|
 |
|
Drybrush the crater
First give it a fairly damp drybrush with the original mid brown. Next
mix the brown with a cream colour, roughly half and half, and do another
drybrush. You shouldn't have to wait for it to dry, because drybrushing
coats are virtually already dry when they go on.
Finally do a coat with just the cream colour ( very lightly). After
this you could add patches of flock.
|
 |