I’ve bought in to the Gnickstarter for Frostgrave, ‘Into the Breeding Pits’, so thought I’d start on some underground terrain. Decided on 1″ squares so they are also useable for D&D, and a set of rooms with 2″ apertures in teh walls , so that I could put blanks or entrances in to allow me to vary things. I’m going to make some passages as well. This is about the first room I have made, together with an arched partition that I can use to break the room up.
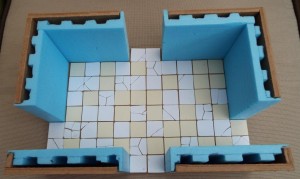
The floors are 4mm mdf (masonite), and the walls are made of the same thing, faced with styrofoam. I have started with 1 room 8″ by 12″, 2 which are 12″ square, and 2 sections which are 16″ by 12″ with one open side that will allow me to put them together to make a large open area, although it would be broken up with pillars and the like to reduce line of sight. The following pic shows them together;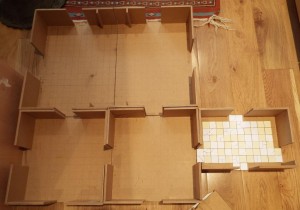 The walls are 10cm high to give me some height to play with.
Next I tile the floors with artists mounting board, including some broken tiles. The bare areas will be filled in with styrofoam walls.
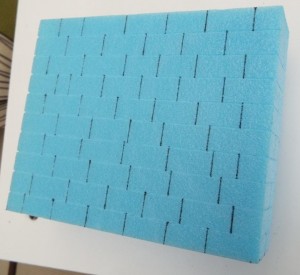
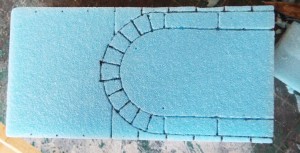
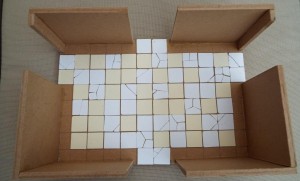 Next, I cut a 10 cm strip of 25mm blue styrofoam using my trusty hot-wire table, and cut it to length to wrap round the mdf walls. To avoid waste, cut a section long enough so that when it is spilt it will cover 2 wall sections. This is hard to describe but I hope that the second of the following pictures, where I have cut the 2 halves with the hot wire table, will explain it. Before cutting I mark up the stonework using a ruler and a cheap lining pen obtained from The Works – 3 pens for £1. Each row is 1cm deep. The pen makes grooves in the foam. I then use the trick I picked up from Lead adventure whereby a ball of scrunched-up kitchen foil is pressed against the foam to texture the surface.
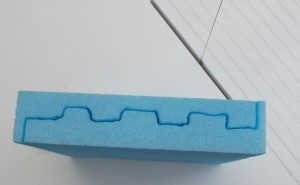 The ridges are so that you don’t end up with a very thin section of wall with a complete gap between the foam and the MDF, as in the following picture.
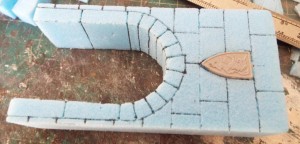
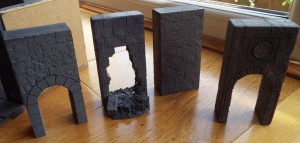
Next stage is to make the inserts for the entrances, and a partition section so that the room can be broken up if I want 2 smaller areas. The Inserts are 2″ wide, and the partition is 6″ wide. I decided to make 1 blank insert, 2 with an arched entrance, and one where someone or something has burrowed through the wall. These next 2 pictures show an arched section
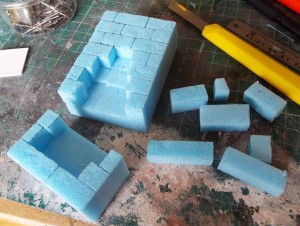
The arch is marked on the foam using the lining pen around a jig that I have constructed from plastic sheeting, which I’ll illustrate with the partition section below. The entrance is cut out using a cheap retractable craft knife. A shield has bee pressed into the foam and glued with pva to provide some decoration. For the burrowing section I wanted to have some blocks removed from the wall, with a more irregular hole behind it to represent digging through rock or earth behind the wall. I cut the section into 2 pieces along one the the block joint lines so that I could slide the craft knife in behind the back of the blocks. This picture shows the insert cut into 2 and the blocks cut out of the wall.
I then gave it a base made om mounting card which projects forward and glued some blocks and rubble (Oyster shell bird grit) to it.
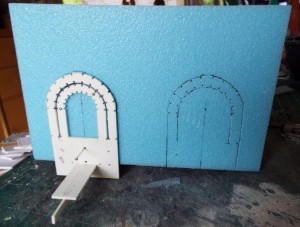
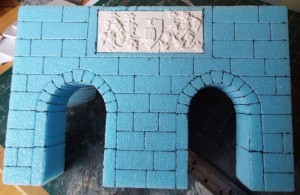
For the partition I decided to have 2 arches in it, using the jig. Here is a pic of the 3 jigs I have, the one I used for this was the one on the left.
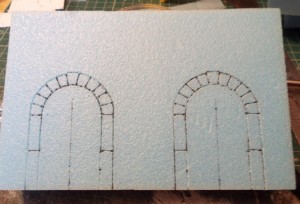
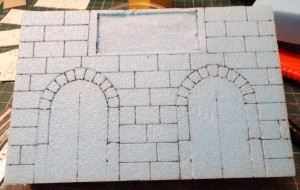
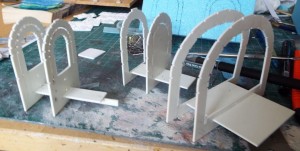 The idea is that one side is fixed to a slider strip, and the other is free to slide along that strip so that both sides can sit snugly against both sides of styrofoam sheets of different thicknesses. There are some pinholes so that both side is pinned in place. The lining pen is used to mark up the stone joints and the joining points, so that when the jig is removed, the joints can be completed with a ruler and the lining pen. The next picture shows the jig in place in the partition, and the pattern of marks where it has already been used for the other arch. The second picture shows where the joints have been linked up to complete the outline of the blocks comprising the arch.
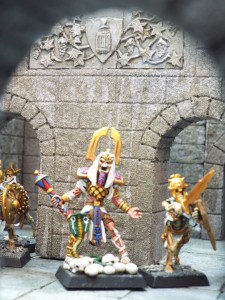
The next stage is to mark in the blocks, but I wanted to put in a piece of decorative stonework to represent the guild sign of the Vintners Guild. so I marked and cut out a section to match the size of the plaque I had produced.
The plaque uses the moulding compound that Aiden used for his well in his earlier article, called Oyumaru. Had to send to Japan for it, but pleased I did. Firstly I made a master. On a thin sheet of card glued to a piece of mdf, I constructed a design using Fimo heat-drying modelling clay – although the grapes are poppy seeds glued on using pva. This picture shows the master part-way through construction – I baked it at intervals so that sections of it were hard and didn’t get ruined when I added extra leaves.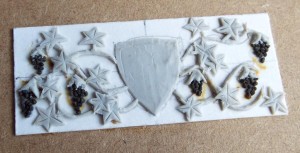
When the design was complete and baked, I took a mould using the compound. When that had cooled down – you make it pliable in hot water – I mix some plaster of paris and fill the mould. when it is dry I ease it out. Sometimes it breaks – next time my master will have a thicker base – but the crack in the plaque on this one looks better to me. I used pva to glue it in place.
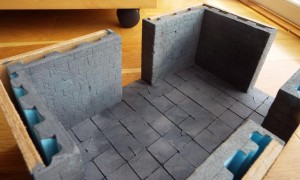
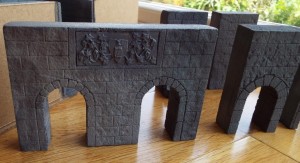
Everything was then ready for the first coat of paint, which was mixture of white, witha little black and brown mixed in. Here is the room, the partition and the inserts;
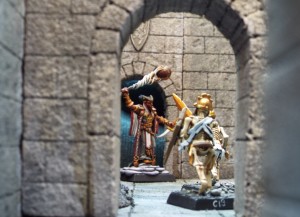
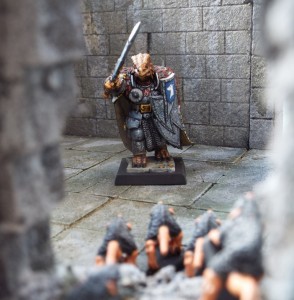
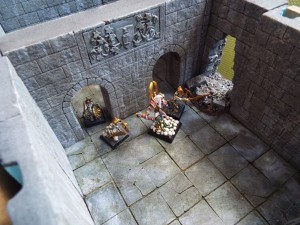
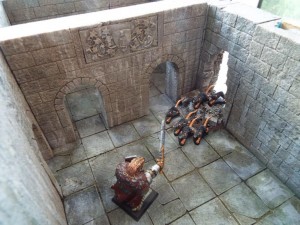
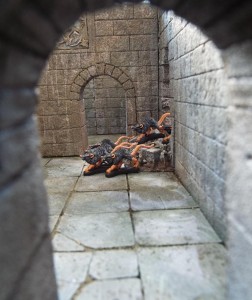
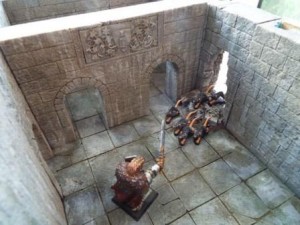
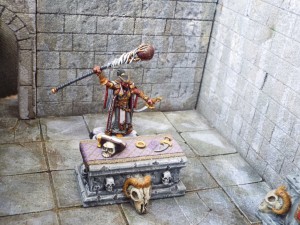
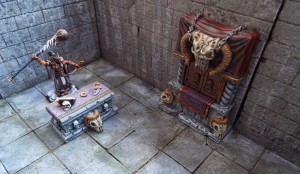
To stop the gaps in the tiles from being too stark, a mix of fine sand pva, and varying amounts of black and brown were mixed up and rubbed into the gaps. Once dry, I then dry brushed the walls with white to which much smaller amounts of black and grey were added, to lighten the surface. Finally thin washed with varying mixes of black, brown and green were applied to the walls and floors. I then put them together with a few figures and took some pics, as follows. Some of the photography is a bit rough – especially the blurry skeletal leader. The furniture is a couple of commercial resin pieces I have painted up.


Leave a Reply