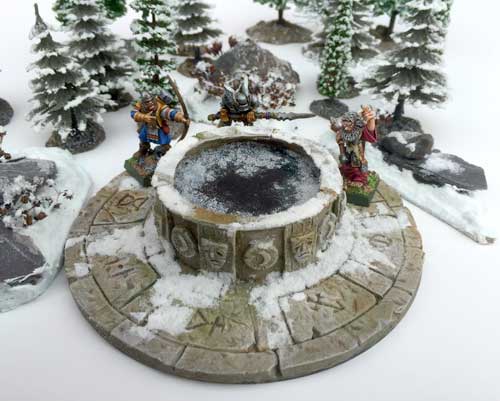
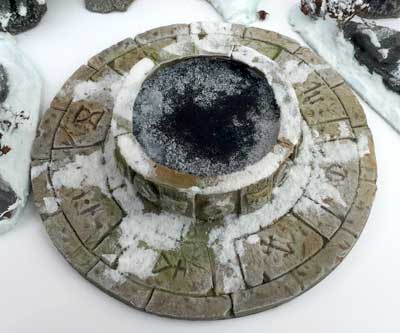
I’ve been working on some of the bits required for the scenarios in the main rulebook. This is the “Well of Dreams and Sorrows”. As followers of this blog would expect, it has been made for tuppence-ha’penny from bits of scrap.
I dug out an unwanted CD (AOL CD from 16 years ago – good terrain makers hoard everything), and a cardboard tube that had some kind of soap in it. I covered the CD with pizza base (scratched the CD up a bit to give it something to key into and used plenty of PVA. I then used a piece of tarmac (very rough and knobbly), to dent up the surface of the pizza base. The pattern was cut in with a scalpel and then opened up with a pencil tip.
I cut a hole in the pizza base to exactly fit the cardboard tube and stuck that in. The lipping on the top of it is simply mounting board stuck to the top of the tube with PVA.
The water was done in the same way as this frozen pond. Unfortunately the card tube end wasn’t quite flat and it took 3 layers to get it flat enough. With hindsight I should have cut a separate disc as the base.
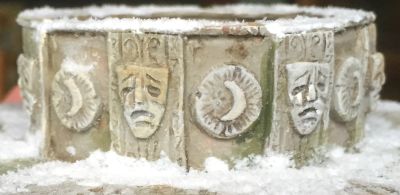
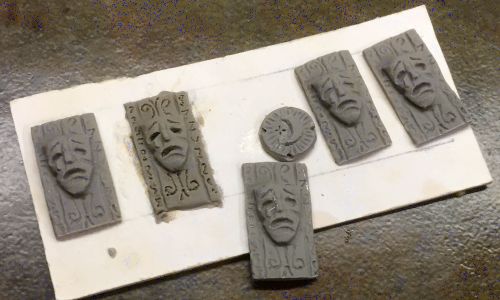
To decorate the edge of the well, I used Oyamaru and Super Sculpey. Oyamaru is a re-usable silicone rubber – it has the texture of soft putty when heated, but a firm rubber when cooled. I’ve found that it isn’t really good enough to mould bits of models, but is ideal for this sort of thing. First I sculpted the original of each detail in Super Sculpey and baked it hard. I then heated some Oyamaru and pressed it on to the originals to make moulds. Once the moulds had fully cooled – I used one of those freezer packs that you put in cold boxes to speed this up, because I was pretty impatient by this point, I packed Super Sculpey in and rolled it flat on the back with a pencil. Then I carefully peeled the Super Sculpey out of the mould and repeated until I had eight of each. The second from the left is the original – you can see the detail is a bit sharper and deeper cut, but the copies are certainly good enough for scenery. Because the Oyamaru mould itself is done in minutes, and you don’t have to leave the Sculpey in the mould to harden, you can make multiple copies of something in less than half an hour.
After hardening the copies, I then cut them to size (I had deliberately done them slightly longer than the height of the well), and stuck them on all the way round with PVA. There was a bit of a gap along the edge of each one, which I filled with decorator’s caulk. In another flash of hindsight I realised that I should have made more effort to curve them to match the well – it was very fiddly filling the gaps.


Leave a Reply