I have a bunch of the Foundry Darkest Africa tribesmen who are complaining about a housing shortage, and some thick card tubing which was part of the packaging in a set of saucepans prompted me to extract my digit and add to the one hut I made about 20 years ago!
First, cut a doorway and glue it to a piece of 3mm MDF (samsonite in the States, I think?)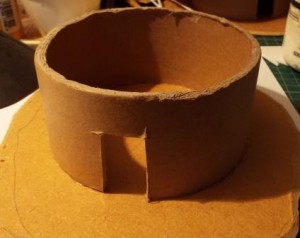
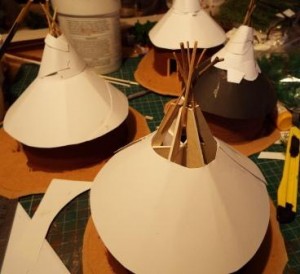
Then I started the roof. I wanted a shallower lower part of the roof, getting steeper towards the top. I make a former using some mounting board, which is card about 1.5mm thick. I cut 3 templates which I could then glue together having slotted them into each other. Bits of card here, along with them glued together. I checked it for size on the walls.
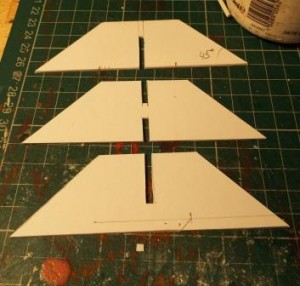
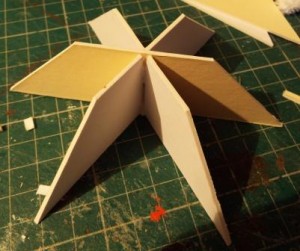
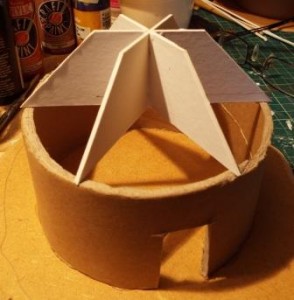
I then cut 6 further strips of the card and glued them to the former, and added some thin wooden strips to represent the poles that would be used to support the roof of a real building. Thin Crad is then glued round it to give the basic roof shape. Hard to describe, so I hope this picture will illustrate;
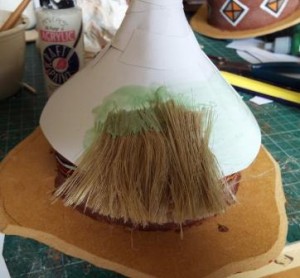
Next the thatch. I am representing grass-roofed huts. In jungles they would often use big leaves rather than grass, which would be fairly scarce anyway in there. I use something called plumbers Hemp, which you can get from Plumbers Merchants. It’s a bit like hair, although there are thicker strands which look a bit like thin straw. Using slightly thinned wood glue, I take small bundles and glue them to the roof. Start with the bottom row. I only apply glue at this time to the upper part of the bundle. There’s a little green paint mixed in just to help the glue show up on the pics. These pics show the first couple of bundles and the whole bottom row done. Use fair-size bundles and simply spread them out – it’s fairly quick his way.
I was too lazy to do more interim shots, so this one shows the walls painted, and the underside of the finished roof. The walls are painted with masonry paint mixed with filler and suitable coloured paint. This gives them a texture which can be highlighted. I then painted some simple geometric patterns as decoration.

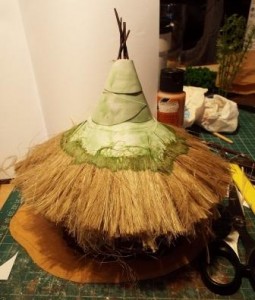
On the roofs, I basically repeated the layers up the roof. The only different one was the final one at the top, where I didn’t glue the top of the bundles to the roof, but allowed the unglued top of the bundles to protrude beyond the roof. I then took a few strands of hemp, drew them through some wood glue to coat them then tied them around the top row of bundles around a centimetre from the top, drew it tighter and tied it off. It’s a bit like tying off a corn stook.
Let it dry. At this stage it looks fluffy, not right to my mind. The effects of torrential rain would flatten them and probably lead to them rotting, and the tropical heat would dry the outside and bleach it a bit. I then took some watered down glue and applied it to each row in turn, using a plastic comb to straighten the fibres. Let each row dry, and use scissors to neaten up the row. It doesn’t have to be too precise. I leave the tuft at the top of the roof unglued, splayed it out and neatened it up with the scissors.
I then takes various shades of a mix of brown yellow and black and water it down and apply varying shades to each roof.
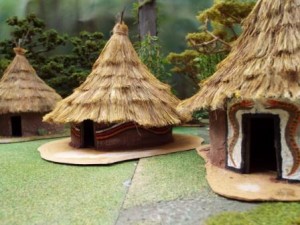
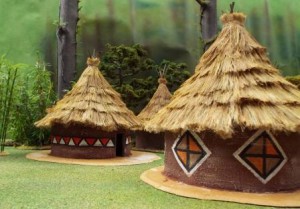
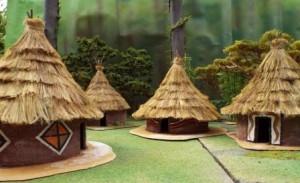
I haven’t done the bases, the door curtains or the interiors yet, but these shots show the huts so far.
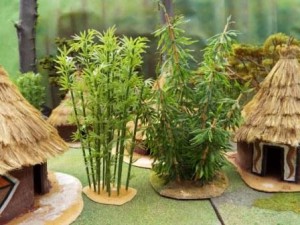
Just as an aside, here is a comparison shot showing the ready-made bamboo now available cheaply from China, with the stuff I made many years ago when that wasn’t available. The leaves are oversized on mine, but there wasn’t anything better I found back then. I prefer my stems, but the chinese stuff is more in scale, cheap, looks good and doesn’t take ages to construct. I’m impressed by it, and one pack of 100 stems made a few stands of bamboo. If I need any more, this is the stuff I will use.


Leave a Reply