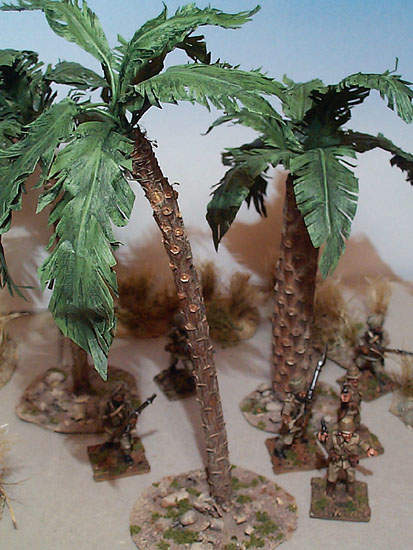
Palm Trees
![]()
Masking Tape Foliage

 |
|
This method is the best way of making palm trees I have found (and
I've tried quite a few). These are relatively quick to make, very tough,
very cheap and look more like real palm trees than anything else I've
seen. |
Materials
|
|
|
1) Leaf 'Blanks'
|
|
Wrap tape over wire |
2) Shaping the Leaves
|
|
Feather leaves Making the head |
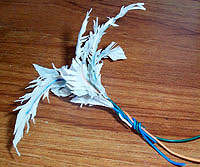 Cut
overall shape
Cut
overall shape
3) Trunk
|
|
Sticking to base Gluing head to trunk |
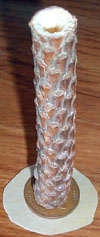 Trunk
Trunk
4) Base Texture and Painting
|
| Texture and paint the base - for the trees above, I have used the arid basing method described here. |
5) Painting
|
|
Leaves Trunk |
![]()
©2001. All rights reserved.
![]()