|
Base
Start by cutting the base to shape. This example used a 12.5x7cm rectangle joined to a smaller rectangle of 8x5cm, but any L-shaped, T-shaped or rectangular base will do equally well.
Wall plinth
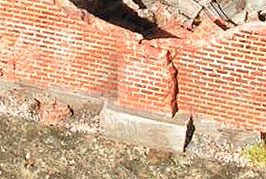 To build the height of the walls up a bit, and add some variety to the masonry, a pattern of 5mm foamboard strips about 8mm high was glued down to form the base of the walls. To build the height of the walls up a bit, and add some variety to the masonry, a pattern of 5mm foamboard strips about 8mm high was glued down to form the base of the walls.
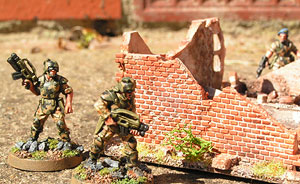
In the example on the right, an additional strip of foamboard was glued on so that the wall stepped out. The additional brick panel not only adds interest, but also hides the joint behind and strengthens the wall.
Walls
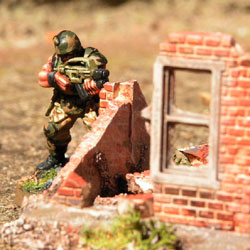
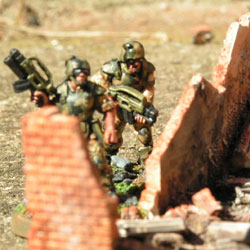
I deliberately made the scale of this ruin slightly ambiguous, so it could be used at 20mm or 28mm. The main thing that would give this away is the size of the doors, so there are no intact examples.
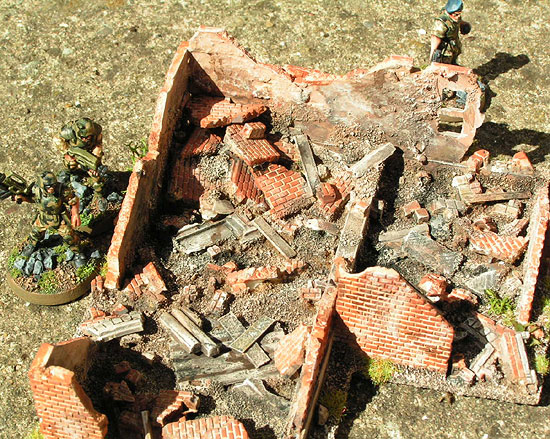
The Linka panels are all ones which didn't come out of the moulds in a single unbroken piece. The most common casualties are the little interlocking teeth that connect the panels together. To avoid lots of peculiar square holes, the panels were arranged to connect sets of intact teeth wherever possible. Generally the panels were in fairly large bits, but these were broken down on diagonal lines to give a more ruined look.
Rubble
The rubble inside the building is also made up of Linka bits. In addition to sections of brick, there are also some arch fragments, and some sections of Linka log cabin. To supplement this there are a few small rectangles of card and chunks of foamboard.
Texture
The inside face of the walls was plastered with tile adhesive. This gives a nice, rough texture and also strengthens the rather fragile plaster panels and their joints. Watered down tile adhesive was also used to texture the foamboard wall plinth, to make it look like concrete.
The ground is textured with the standard combination of PVA and sand. It is a bit tricky working it in and out of the rubble - the best tool for this is a worn out size 0 brush.
|
![]()
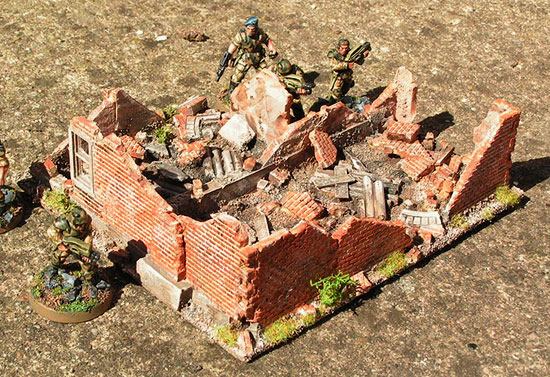
 To build the height of the walls up a bit, and add some variety to the masonry, a pattern of 5mm foamboard strips about 8mm high was glued down to form the base of the walls.
![]()
![]()

