|
Basecoat

|
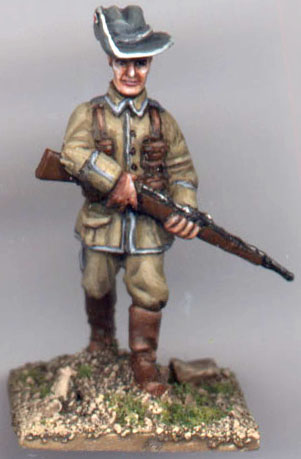
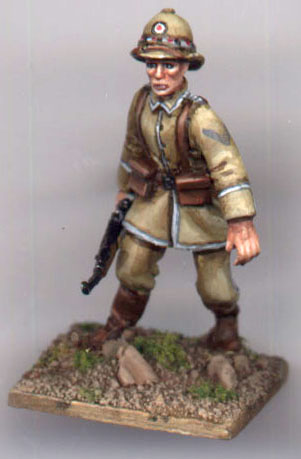
Initially the models had been undercoated white. The areas of skin
were then base coated with a flesh coloured paint (in this case
an artist's acrylic: Rowney Cryla Flesh Tint 578)  . .
The eyes have been painted black, which isn't really necessary,
but I find it a slight aid in judging the amount of shadowing required.
|
 |
Shading Stage 1 -
Shadowing 

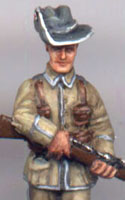 |
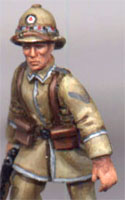
My standard shading technique with pale colours is to shadow first,
and then highlight. With darker colours it is the opposite - i.e.whichever
will be the greatest tonal range is done first. This helps to get
an even distribution of shades/tones in the final figure. In line
with this, as skin is quite pale the first stage is to apply the
basic shadowing.
|
 |
 |
Colour Range
Here you can see a section of the palette showing the range of
colour which was prepared on it prior to blending (although as it
was scanned after it had been used, it looks a bit less pristine and
organised than it did at the start). It was created by putting on
a blob of the basic flesh colour and a blob of the shading colour.
The shading colour was Citadel's 'Dark Flesh', mixed with a bit of
Humbrol 186 'Matt Brown' to tone it down. I used to use Citadel's 'Swamp Brown' but this is
no longer available (it was also a little too purple). Having the
full range of colour which you are blending to on the palette allows
you to immediately pick up the right colour for a particular patch
and then mix it in.
 |
Shading Stage 2 -
Highlighting 

 |
Face
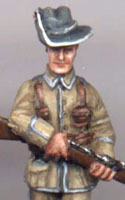
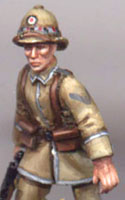
The 'sticking out' areas of the face are now highlighted, which
includes the cheekbones, the jawbone, the upper lip, the nose and
the edges of the ears.
Hands
Note the knuckles and fingers have been particularly picked out,
to help prevent the hand looking like one big blob.
|
 |
 |
Colour Range
Another range has now been mixed on the palette. The dark mix
is still visible, but at the bottom, a range has been created by mixing
white and the basic flesh colour. I very rarely use pure white, even
on the uppermost highlights, because I find it looks a bit out of
place. Instead I mix in a tiny amount of the base colour to give it
the right hue. |
Shading Stage 3 -
Dark Shadowing

|
Shadowing
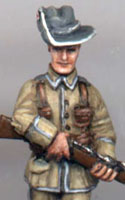
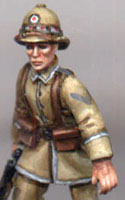
The shadowing is now increased in depth using a small amount of
brown ink in addition to the earlier shading mix.
Particular areas for attention are the eye sockets, below the chin,
the edges of the ears and hair line as well as below the brim of
any headgear.
Eyebrows
If the figure's eyebrows are visible, paint them in now with
a dark brown line, unless they are huge bushy eyebrows, in which
case they are best drybrushed.
|
 |
Mouth
A little dark brown ink  ,
was painted in a fine line to accentuate the mouth. Ink makes a fine line
more easily than paint because it is more fluid. ,
was painted in a fine line to accentuate the mouth. Ink makes a fine line
more easily than paint because it is more fluid.
Eyes
The eyes were painted in again in black in preparation for the next stage.
Eyes & Lips Stage
1 

Lips
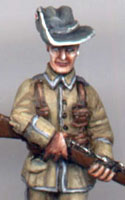
The lips were painted in a dark pinkish/red brown  .
Note that lips are not particularly red unless your figure is wearing
lipstick. This colour was created by mixing Citadel's 'Dark Flesh' .
Note that lips are not particularly red unless your figure is wearing
lipstick. This colour was created by mixing Citadel's 'Dark Flesh'  with a little of the basic flesh colour.
 |
Eyes
These are painted in white, with a thin black rim being left
aroung the edges. The whites of eyes are really a pale grey, but
slightly thinned down white works well. If you do actually use a
grey, the eye will appear from a distance as just a dark blob and
you might as well not have bothered painting a detailed eye at all.
|
 |
Eyes & Lips Stage
2 

Lips
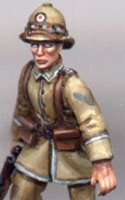
The lips are now highlighted using a mixture of the basic lip colour (if
you are quick it will still be wet on your palette) and white  .
A very tiny amount of red is also added to make them a little pinker.
Blending is not really required because the area being painted is so small. .
A very tiny amount of red is also added to make them a little pinker.
Blending is not really required because the area being painted is so small.
Eyes
The pupils were painted in with black. At this scale it isn't worth trying
to paint the iris a separate colour - it will not be noticeable and will
lack the impact of pure black. Normally the white of the eye is only visible
at the sides of the eye, and not above and below, so paint a band
of black from top to bottom of the white area. It also often helps to
thicken the black line above the eye, has can be clearly seen on the figure
on the right, as this gives the impression of eyelashes.

©2001. All rights reserved.

|
![]()
![]()
